Showing posts with label Thrift. Show all posts

Tuesday, October 9, 2018

Trash to Treasure


"One man's trash is another man's treasure."  This applies to Dustin and me. Whenever anything breaks, he grabs it: coffee makers, vacuum cleaners, telephones, televisions, alarm clocks, electric shavers, computers, it doesn't matter what it is, he wants it.  He carefully dismantles the prize looking for useful pieces to build robots.  The components are extracted and reassembled into electrical experiments.

When it became impossible to walk through the basement, he decided to do something.  

I see trash, he sees treasures.


Dustin takes the circuit boards and removes the integrated circuits.  They are packages that contain a premade circuit with a silicon wafer inside.  They can be used to build small computers, perform amplification, comparisons between signals, or many other functions.  Some are in sockets and pop off easily.


Others are soldered directly into the circuit board and must be removed by using a solder pot.   It's a dangerous process and not something to be performed inside the house.


Dustin works outside with a fan behind his back that blows the toxic fumes safely away.


Scooter checks to make sure all safety precautions are being observed.  


He also inspects all tools and verifies they are up to codes.  He is the first one to evacuate when the noxious fumes begin wafting across the porch.


A solder pot is a heated bowl full of melted solder which is EXTREMELY HOT and must be used carefully.  Slag is floating on the top.


A bar of solder is used to perform the initial filling of the pot.  Additional portions of the bar are added periodically to keep it at the desired level.  One of the most popular types of solder contains 60% tin and 40% lead.  It is purchased over the internet and arrives in the mail in solid form.


The circuit boards are placed on top of the solder pot.  The molten solder contacts the component legs on the underside and melts the connectors away.  Components are the building blocks of circuits which are put together to build useful things, process signals - they are electronic Legos...only more complicated.


Using pliers, it is possible to carefully remove the component without damaging the good stuff.


Each component has the manufacturer's identifying marks and part numbers.  The numbers can be googled for information. This one is a UVEPROM which was used as memory storage in an 80's style computer.  Today it can be used in small computers.  They can only be erased when ultraviolet light is shone into the clear window. The memory is not lost when power is interrupted.  The data is also secure from being hacked or erased.  To prevent accidental erasure, stickers are placed over the window.  To erase the data for reuse, a small ultraviolet lamp pointed at the window will clear the data so it can be programmed again.


Some of the chips can be checked on an integrated circuit tester like the one below.  It has a socket on the front so the circuit can be plugged in, identified and tested to see if it works.


The information is recorded then they are labeled and organized to be used in future projects.


Other treasures are discovered during the salvage process.  This is a variable capacitor, not a flux capacitor, which came out of a harmonic distortion analyzer.  It is something someone somewhere sometime long ago gave to Dustin.  It can be used to make a homemade tuneable radio circuit.  Brand new it would sell for quite a bit of money, too much to play with, but recycled out of a piece of trash, it becomes a priceless toy.


A degaussing coil was pried from an old CRT (cathode ray tube) computer monitor.  Its purpose was to eliminate residual magnetization so the screen could work correctly.  The coil operates on the same principle used in World War II by battleships to eliminate the magnetization of the hulls. It made them harder to be detected by naval mines.  The mines could identify the changing magnetic fields created by the large iron ships.  

It can also be used to degauss a dog.  


As new construction projects and experiments are performed, Scooter offers instructions, advice, and encouragement.


The worthless parts were organized, crammed in Dustin's car, taken to the recycle center and sold for cash.  We offered him the junk in the old shed.  If he would load it up, he could keep the money.  Win, win.


Hey!  Is that his childhood treasure box where he locked up his favorite toys to keep them away from his brothers?  Is he throwing it away???  (Sniff, sniff)  I suppose he is a little too old for a treasure box.


The recycling center appeared to be a popular place.  The line was long and so was the wait. We got bored and thirsty.


So I found Dustin a can of beer.  He said it was flat.


While waiting in line, I decided to search for excitement.  Concealed between the piles of junk was a hidden path.  Instead of bread crumbs, there were smashed aluminum cans pointing the way to a mystery. Where did it lead?
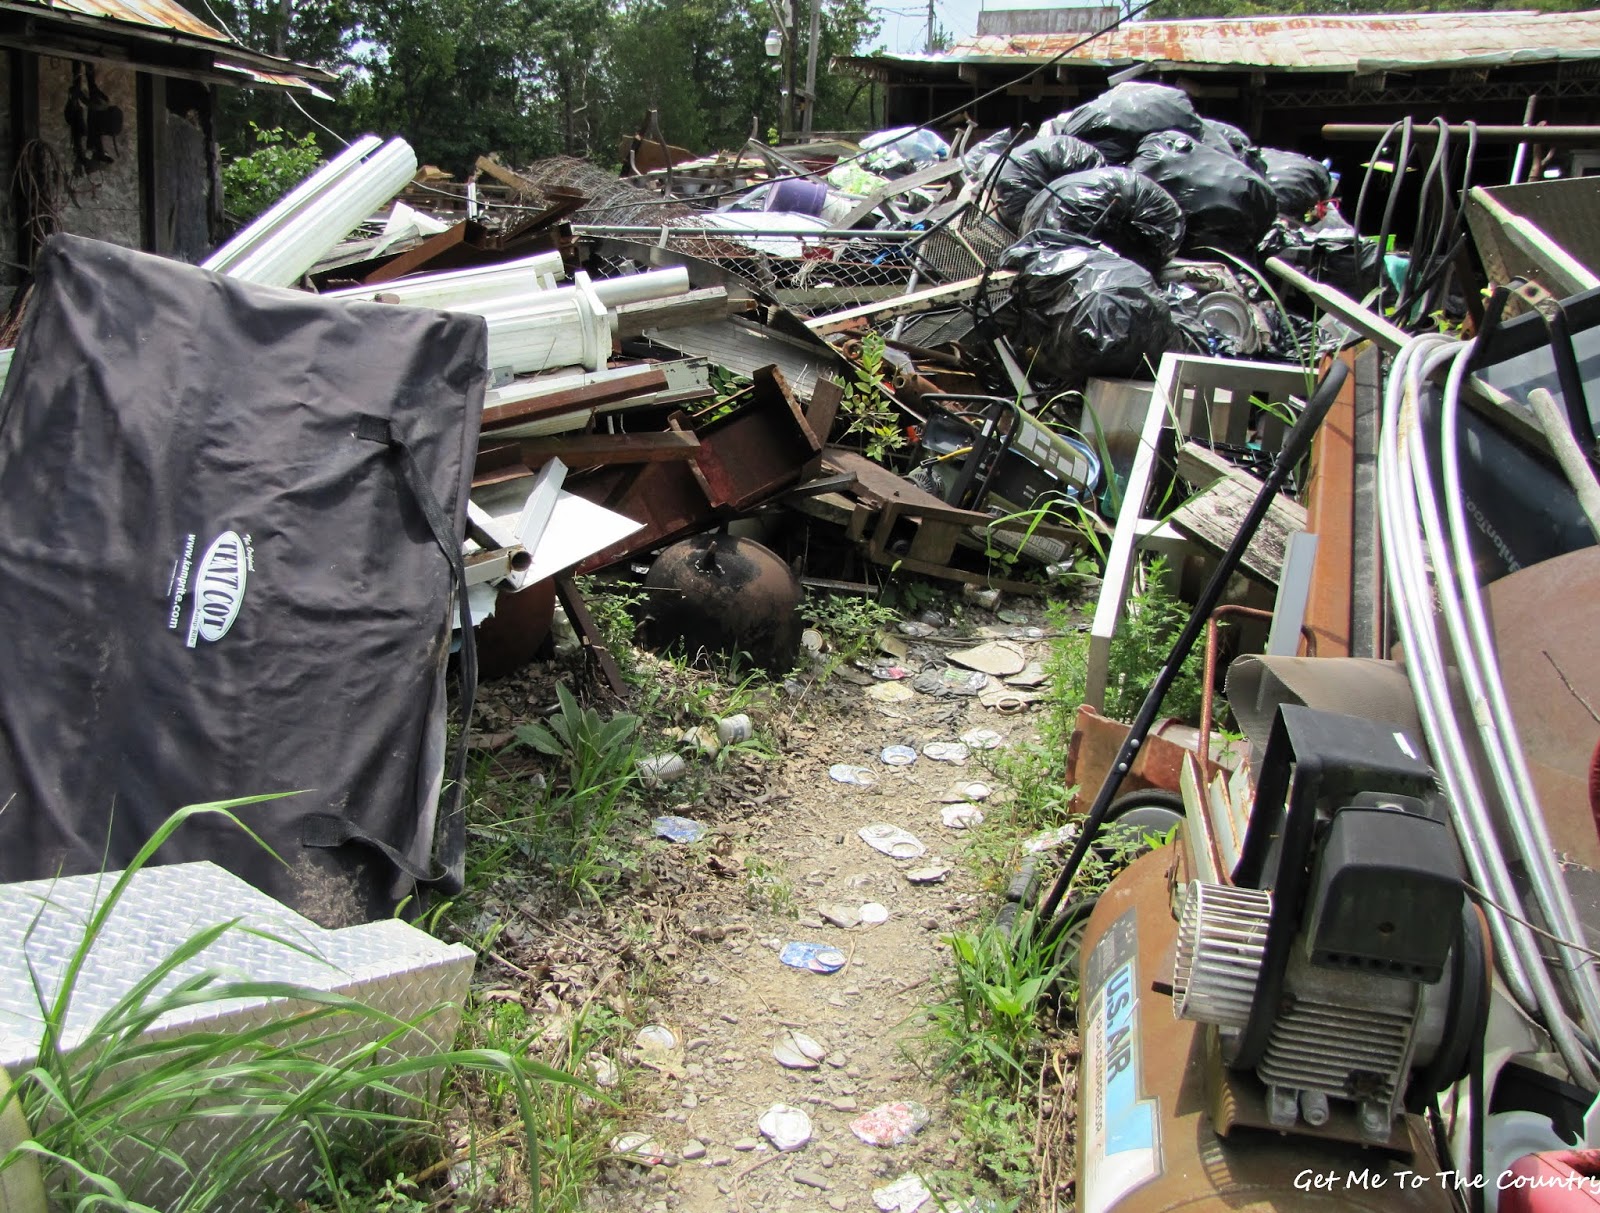


It led to the bottomless black hole where coke cans end up after they are thrown in the recycle bin.  They are dumped in a hopper, shredded and the pieces are shot inside the back of a semi-truck trailer. 


When the semi-trailer was full, it would be driven to another company to be smelted down.


As I continued on my treasure hunt, other surprises were discovered.  Why would anyone want to throw away a genuine antique floppy disc drive?  Shouldn't it belong in a museum?  Millennials.  They wouldn't recognize a priceless ancient artifact if they stepped on it.


No junkyard is ever complete without at least one junkyard dog.  He was unimpressed by me and my camera and would not smile.


Finally!  The man in the green truck ahead of us made it to the front of the line. He unloaded the iron from the bed of his truck and put it into the hopper.

We were next.


Our turn to unload!  

First, the iron junk was pulled from the trunk and tossed into the hopper on the forklift to be weighed.


Everything else was carried to the weigh-in station near the large scale.


The men began quickly sorting the items by material type.  They asked Dustin if he planned to return with more scrap later.  He replied he would so they instructed him how best to categorize so he could earn the best price.


The scale was a huge metal plate surrounded by piles of stuff.  Each category was weighed separately.


As items were weighed, the information was entered into the computer.  Can't see the computer because of the messy desk?  I added arrows so you can find it.  Never, never, never again will I say my desk is messy.


Some items were too small and valuable to be weighed on the big scale.  They were taken inside the office and weighed on a smaller scale.  Can you find the office in this picture?


Not only does Dustin recycle junk, but he also recycles gloves.  It's the reason he is wearing two different styles. This bag held discarded CPUs and integrated circuits.  Some were broken, useless, outdated or not needed.


If they have gold plating on their connections it will bring more money so a sensitive scale was needed.


After being weighed, the items were tossed into boxes or piles.


Everything was totaled and a check was written to Dustin.

Was all the work worth it?  ABSOLUTELY!  He made $126.75 for a load of JUNK!

Friday, August 10, 2018

Building a Dehydrator the Haphazard Way, by Reese


As I’m sure some of you might already know (because my Mom told the world) I have already left home to start a new job. At that time, I did not pack a dehydrator as it was quite bulky and I did not know if I would be sticking around this place for very long. I figured once I got settled down at my new location I could head to the nearest Goodwill every so often 'till a dehydrator showed up. After several months and still no dehydrator, I was getting tired of the lack of results. The cheapest one I could find on Amazon, with a quick glance, was in the $40 range. I deemed that far too expensive, especially when it only had a couple of trays, no fan, and a limited amount of shelf space. My next thought was, "Could I build one myself?" I ended up finding a nice video “Dehydro-Tron 5000_ Make Beef Jerky at Home!” on Youtube. Of course, it was on Youtube, isn’t everything there? Anyway, it gave me a good idea as to where to start; but I was not about to go as fancy as they did with a soldered on a dimmer switch, painted but still made from used junk parts lying about. I had a limited amount of money and tools. The criteria I needed, involved a few things. First, it had to be easy to build. Second, cheap. Lastly, when I inevitably move again, I want the ability to save the core components and toss the rest. This will enable me to slap together a new one later.

To build the dehydrator, I needed a box to act as the base. I originally thought about using a thin plastic container. As I was pondering the steps, I realized I did not have an effective method to cut through plastic. While wandering about my apartment, my eyes fell upon an old cardboard box that had been with me for some time. As you can see, it has been around the block a time or two. It has traveled through two moves and has been used as a nightstand in both of my apartments. (Time to find something else as my nightstand, I guess.) In this step, I followed the Youtube video and used aluminum foil from my kitchen cabinet to line the box.


I purchased some reflective HVAC foil tape for about $5.00 to hold it in place. I thought that the tape would be quite delicate, but was surprised to learn it was not. You can tear it easily, but when trying to pull my stuck fingers off, it held to quite a bit of abuse. Its stickiness is somewhere between packaging tape and duct tape, leaning more towards the latter of the two.


I used the HVAC foil to hold the aluminum foil in place as I covered the inside of the box.  (Shiny.)


Next, I installed the heating element, or in my case, a heat lamp.  I could not solder any joints due to my nonexistent soldering iron.  I bought a lamp kit with all of the necessary parts, cord, switch, and socket.  At this point, I also remembered I did not have a drill to create the hole to run the power cord through the box. What to use? What to use? Aha! Take a box cutter and rotate it slowly while jamming it through the cardboard.


Hey, It's not stupid if it works!


Then I wired the lamp.


The hook up was pretty simple.  All that was required was a Phillips head screwdriver and some head scratching due to the limited instructions provided.  Also bear in mind, anyone who makes their own dehydrator, don't shove the wire into the wrong hole.  I was left confused for some time before I figured out where I went wrong.  Then I fired it up and see if it works.  BOOM!  We have light!


Now to secure the lamp to the box so it doesn't roll around.  Drill another hole with the blade, shove the tube through and attach it to the lamp.  The lamp kit also came with a random selection of white rubber spacer things.  I ended up grabbing the largest one with the most surface area and shoved it on the screw then called it good enough.


I did not have a metal coat hanger to fashion a nice stand as the video showed.  The next best thing? I grabbed one of Mom's metal canning screw lids and placed underneath. (She will never miss it.) You can also see the few tools I had available in the last picture on the right.


What cheap possible method could I create for air circulation?  I experienced many sleepless nights agonizing over this critical step in my grand plans.  Few will realize the genius levels of contemplations I put forth here...I went and bought a $5 mini fan...Hey! It worked!  Don't judge me! Besides, I was not about to search for a computer fan and then try to do wizardry on it to get it to work.  I'll leave that for my older brother.  I would have undoubtedly burned my apartment down if I tried.

Next I cut a hole in the box for the fan, making sure to leave enough cardboard on both sides for support.  I didn't want to cut it too close to the corner.  It probably would not have made a difference, but it was also easy enough to scoot the fan a couple of inches over. Grabbing a pen, I marked out where the hole was to be cut.


It's not pretty, but it will get the job done.  To prevent the aluminum foil from rattling due to air movement, I took some more foil tape and lined the perimeter of the hole with it.


It was time to do a trial run...but... no drying racks...hmm...well, I guess this will do for now.


Well, the "for now" did not last very long.  Apparently electrical tape is not a good option for holding a colander of apple slices over a heat lamp.  I came back a few hours later to find it collapsed.

This next design also worked, I guess.  The trial run ended up being a success.  There are no images because I ate the test results too fast.  


Time to build shelves.  I used some wooden dowels to act as the main shelf holder then used "plastic canvas" to hold the fruit slices.  Don't ask me what plastic canvas is used for, that is a Mom question. (Mom speaking here, it is used for needlepoint.) The canvas is quite cheap, I got mine at a Joanns store for about $.75 for a piece the size of a sheet of paper.  If you are planning to build more than one or two shelves, I would recommend putting the opening of the box on the side, so you can slide the shelves in and out.  I didn't think that far and had a top down approach.  Works good enough for the 1.5 shelves I currently have but any more would be a hassle.


The last part to build was the lid.  This ended up being the simplest part to construct.  I grabbed a piece of cardboard and shinnied up one side with aluminum foil and HVAC tape.


I then made a haphazard handle by folding some paper into a bar, wrapping it with tape, then securing it to the top of the lid.  Some holes were cut in the lit for ventilation and I was done.


Time for the true test and what better than using a fruit that is 92% water?  (Owning a small cutting board is not very helpful at this point.)


It only took about one day for it to dry enough for storage.


Delicious Dehydrated Watermelon
All totaled, I spent less than $20 on this project.  Not bad if I do say so myself.
Reese

Additional Rascally Reese Posts